Hardware
Inspired by this toy fromm LeapFrog that we got for free on a yard sale, I made this toy for my son:
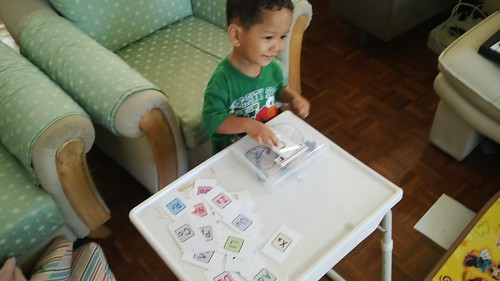
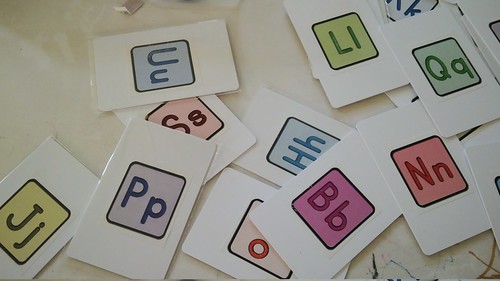
This is a simple toy, he can pick a card from this set of alphabet cards:
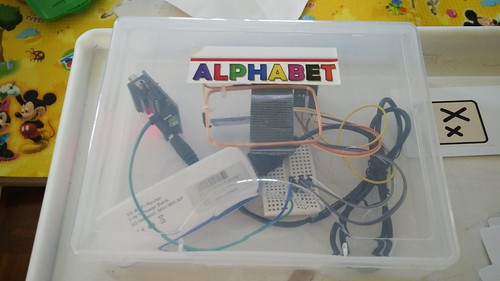
And put it above this device:
And then the alphabet will be shown on the screen:

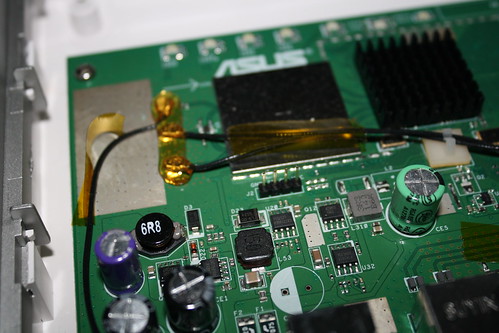
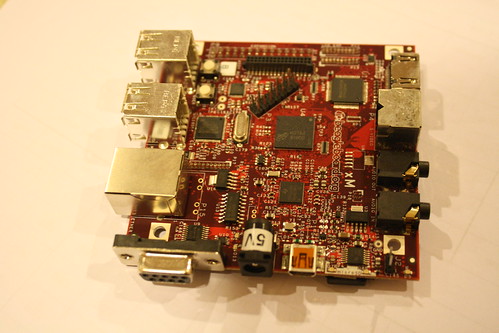
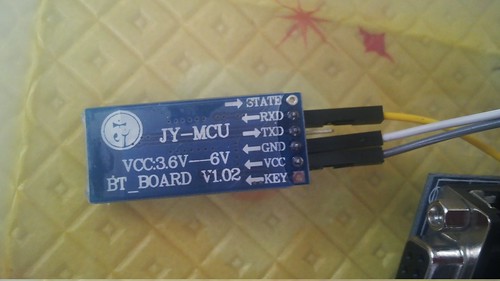
the alphabet is received by Raspberry Pi via bluetooth and displayed through HDMI:

Why wireless? I want to have distance between the device and the TV screen. I could have just used cables (I can even plug the RFID reader directly to Raspberry Pi), but it is not toddler-safe. My son would occasionally run to the TV screen to point at something, and I don’t want him to trip on the wires.
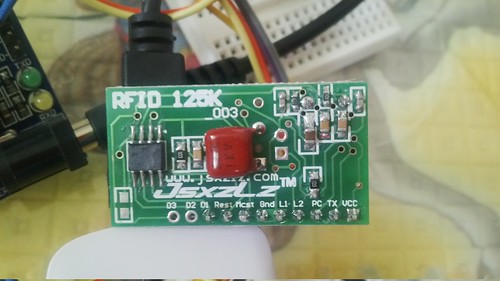
The implementation is quite simple. The cards are actually RFID cards (50 cards for $11.47), and it is read using this cheap 9.9 USD RFID reader. To make the card looks good, my wife prints the letters of the alphabet to a sticker paper and sticks them to the cards.
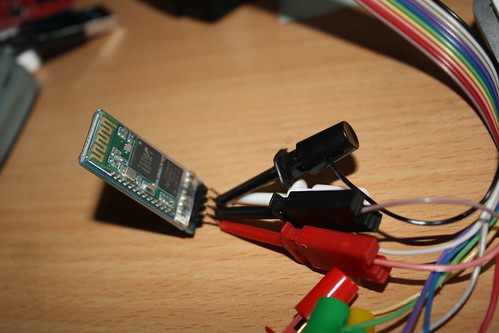
And to make the data available to the Raspberry Pi, I used the same Bluetooth module as the one I used in my previous post (you can find a similar one here). The baud rate for the RFID reader is 9600 bps, so we need to set the same baud rate for the Bluetooth module.
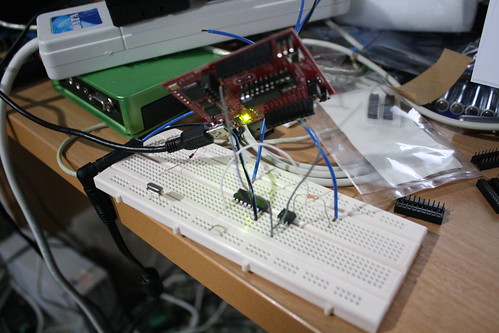
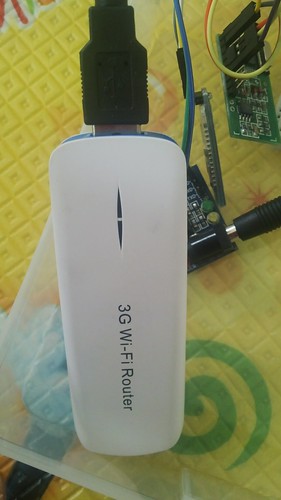
For the power source, I could have used AA batteries, but I have this USB powerbank (that also acts as a USB/Wifi router) that I don’t use very often:
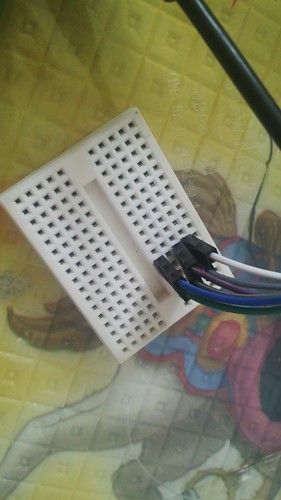
I didn’t do any soldering for this project, I used a breadboard
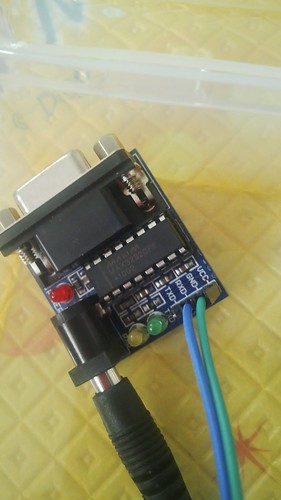
And in case you are wondering, I just use this device (5v to 3.3v serial converter) to connect the USB power to breadboard (just because I don’t want to solder anything, and this device fits nicely):
Software
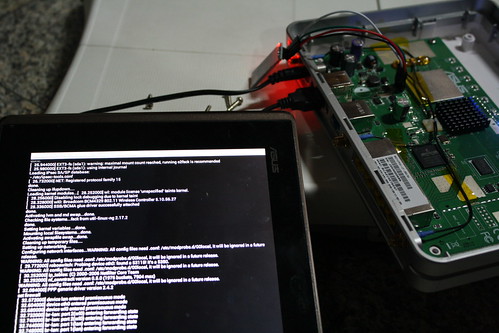
For the software part, I wrote a small python script that uses pygame.
To prepare the raspberry pi to run the app, you need to install these packages:
sudo apt-get install python-pygame python-serial bluez-utils sox
Then find the device bluetooth address using:
hcitool scan
Create a file named “pincodes” to enable automatic pairing:
echo "DEVICEADDRESS PIN" >> /var/lib/bluetooth/YOURMACHINEADDRESS/pincodes
The default device PIN is 1234. For example, this is what I do in my laptop:
echo "00:12:03:09:17:55 1234 >> /var/lib/bluetooth/E0\:B9\:A5\:45\:15\:1B/pincodes
And for the serial connection, create /etc/bluetooth/rfcomm.conf file:
#
# RFCOMM configuration file.
#

rfcomm0 {
	# Automatically bind the device at startup
	bind yes;

	# Bluetooth address of the device
	device DEVICEADDRESS;

	# RFCOMM channel for the connection
	channel	1;
}
You can checkout the source code at github:
git clone git://github.com/yohanes/rfid-abc.git
I don’t have a license to redistribute the wav files for the alphabet sound that I own, but fortunately you can find a collection of wav files from Voxeo site: http://evolution.voxeo.com/library/audio/prompts/alphabet/index.jsp (download audio-alphabet.zip)
To be usable in pygame, you need to convert the format to raw 44.1Khz WAV using sox:
cd rfid-abc
wget -c http://evolution.voxeo.com/library/audio/prompts/alphabet/audio-alphabet.zip
unzip audio-alphabet.zip -d original
cd original
for i in *.wav; do sox $i -r 44100 -e un ../$i; done
cd ..
And to run it:
python game.py
Oh wait, you need to edit the card id mapping in map.txt, in case you didn’t touch the file the app will store unknown card ids to “unknown.txt”.
Future improvements
The software is still very simple. I am planning to make it multilingual (my son needs to know Indonesian, English and Thai), and more interesting (for example: the computer can ask “find me the letter C” or it can be changed into a spelling game).