Alphasmart Dana is a Palm OS device with a keyboard form factor that is still popular among writers. One of the Alphasmart Dana version has a wireless capability, but it only supports WEP 40/128 bit. WEP has a very weak security and is not supposed to be used anymore. Alphasmart Dana also supports SAMBA file share but it only supports SMB1 (which is also considered insecure). Since Alphasmart Dana was made on 2002 and the last software update was 2005, there is no hope for WPA upgrade or newer SMB protocol.
To be able to easily transfer files from/to Alphasmart Dana, I made a special WEP access point with my Raspberry Pi 2 that works on a separate subnet. I use a cheap RT5370 USB WIFI for the access point and ethernet cable to connect to my local network. In my opinion, this will not be 100% secure but It is enough for my need. It is much better than changing your home WIFI encryption to WEP (which will make everything insecure).
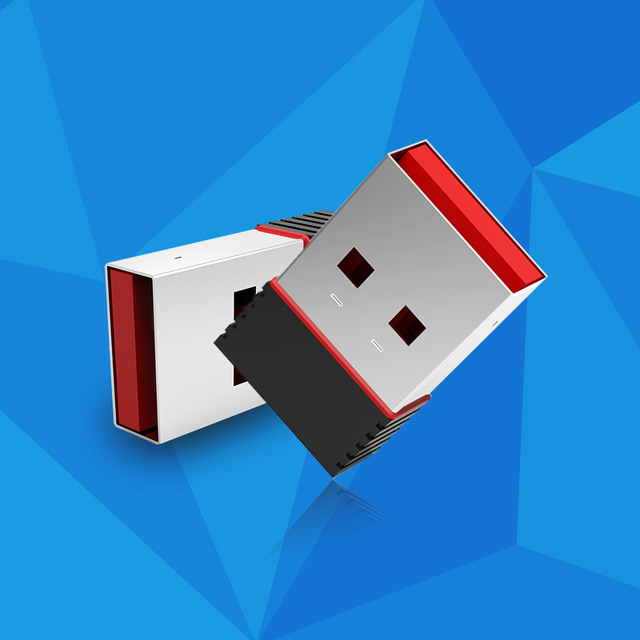
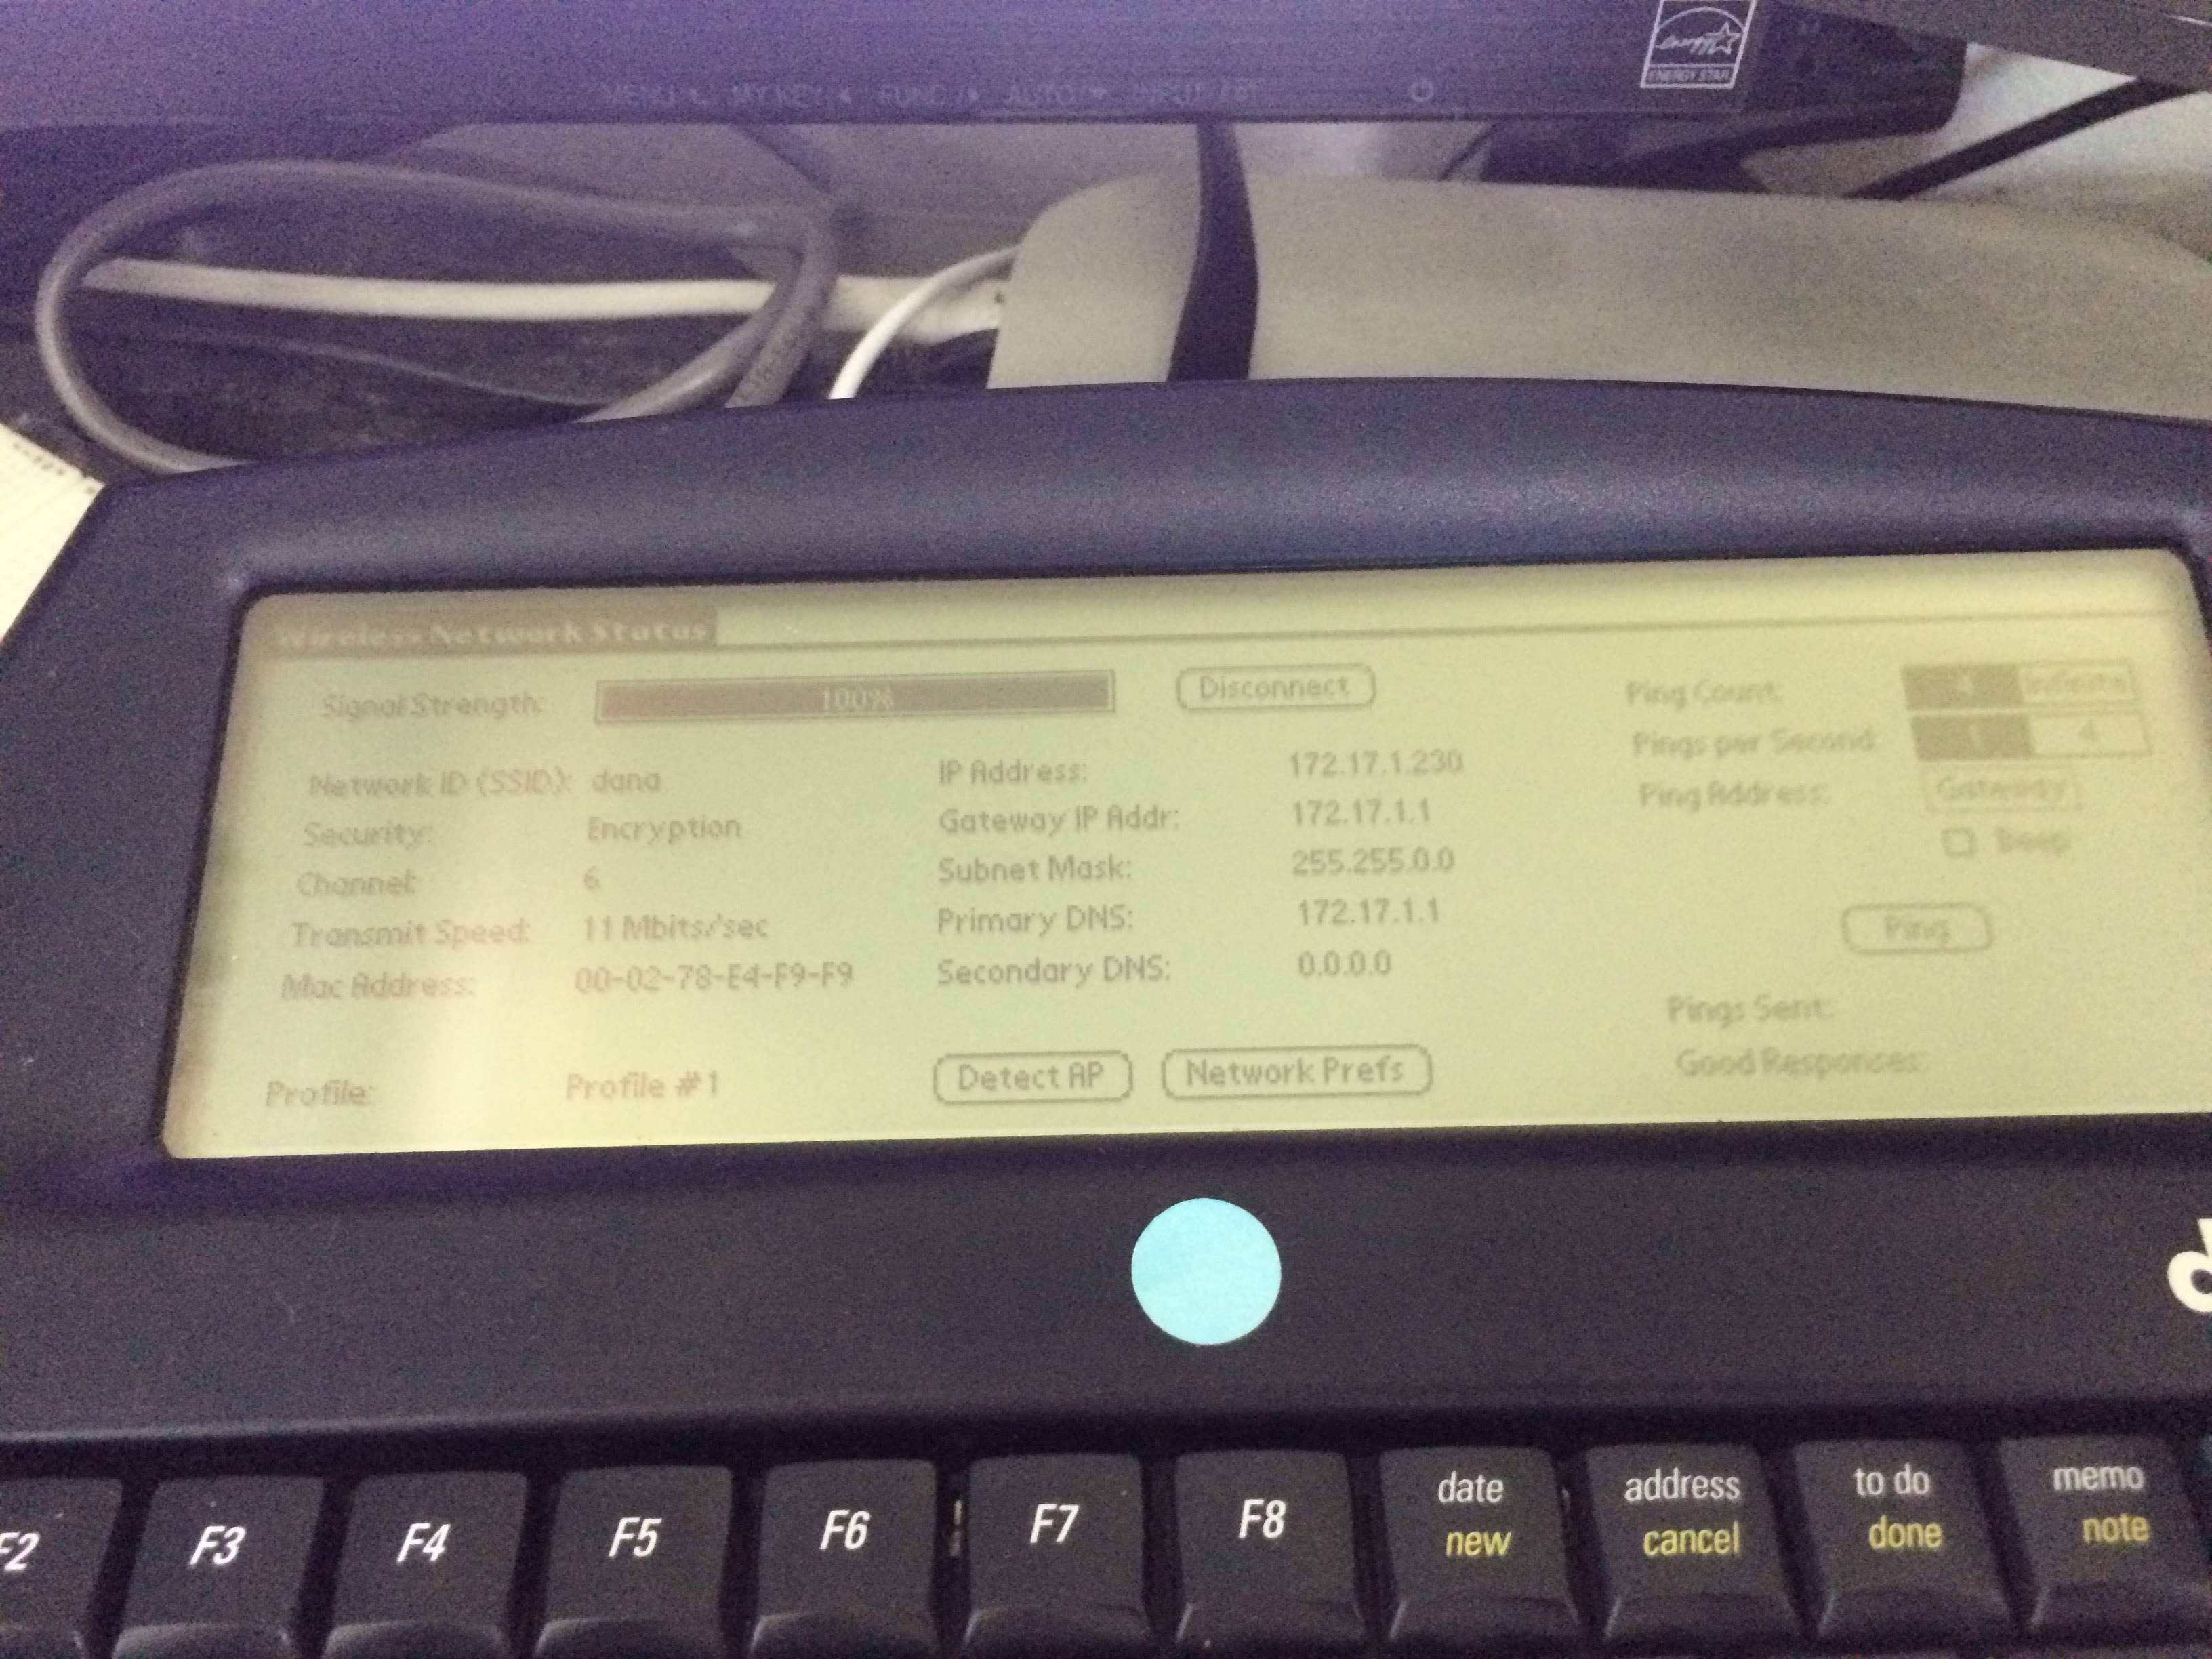
The dongle that I use is very small and the range is only a few meters away, this already helps with security since it will not be accessible outside my house (but a very determined person with the right equipment may still be able to communicate with it). I gave Alphasmart Dana a separate subnet (172.17.x.x) different from my local network (192.168.x.x) and I did not set it up to forward connections between this two subnets (by default it won’t).
For the file share, I set up one Samba public share to transfer files from/to my Dana. This share is only accessible through the subnet obtained from WEP access point. In the very worst case, if someone can get in, they can steal my files in that share. But since I am not working on anything secret (mostly just my draft for my blog posts), I am willing to accept the risk.
I gave this long explanation about security in case someone wants to make a portable set up out of this guide. If you bring your access point to a coffee shop, someone can break the encryption in a very short time and steal your next best-selling novel. I repeat that my setup is only for my desktop which is only reachable from my bedroom (and I live in a house which is quite far from my neighbors), and I don’t work on important documents.
Access Point
First, we need to setup the static IP address for the wlan0, I choose 172.17.1.1. To do this, create /etc/network/interfaces/wlan0.
auto wlan0
iface wlan0 inet static
    address 172.17.1.1
Then we need to setup DHCP server that will hand out IPs automatically. If you need more security, you can also setup static IP with secret IP address (this is just another layer of obfuscation). I have several Dana in my house (my Wife’s and Children’s). For DHCP server, I use dnsmasq because it is very simple. Install dnsmasq:
sudo apt-get install -y dnsmasq
This is what you need to add in /etc/dnsmasq.conf:
dhcp-range=172.17.1.10,172.17.1.250,12h
For the access point part, I use hostapd. Create /etc/hostapd/hostapd.conf with the following content. The encryption can be 40 bits (5 characters) or 128 bits (16 characters).
interface=wlan0
ssid=dana
hw_mode=g
channel=6
macaddr_acl=0
auth_algs=3
wep_default_key=0
wep_key0="AAAAA"
driver=nl80211
And also set the path to the config in: /etc/default/hostapd
DAEMON_CONF="/etc/hostapd/hostapd.conf"
We also need to disable wpa_supplicant (you may need to restart or kill the wpa_supplicant process if it was already started):
sudo systemctl mask wpa_supplicant.service
Now we can test this configuration by trying to connect using WiStat from Dana. If you can connect, the first part is complete. But you can’t access any file yet.
File Share
To set up file share, install samba:
sudo apt-get install samba
Edit /etc/samba/smb.conf
inside the “[global]” section add:
[global]
lanman auth = Yes
client lanman auth = Yes
client plaintext auth = Yes
server min protocol = NT1
And to set up a public directory which will be readable/writable by everyone (the name of this share is “dana”, change it as you like):
[dana]
path = /dana
writeable = yes
browseable = yes
public = yes
guest ok = yes
read list = "nobody","@allaccount",
write list = "nobody","@allaccount"
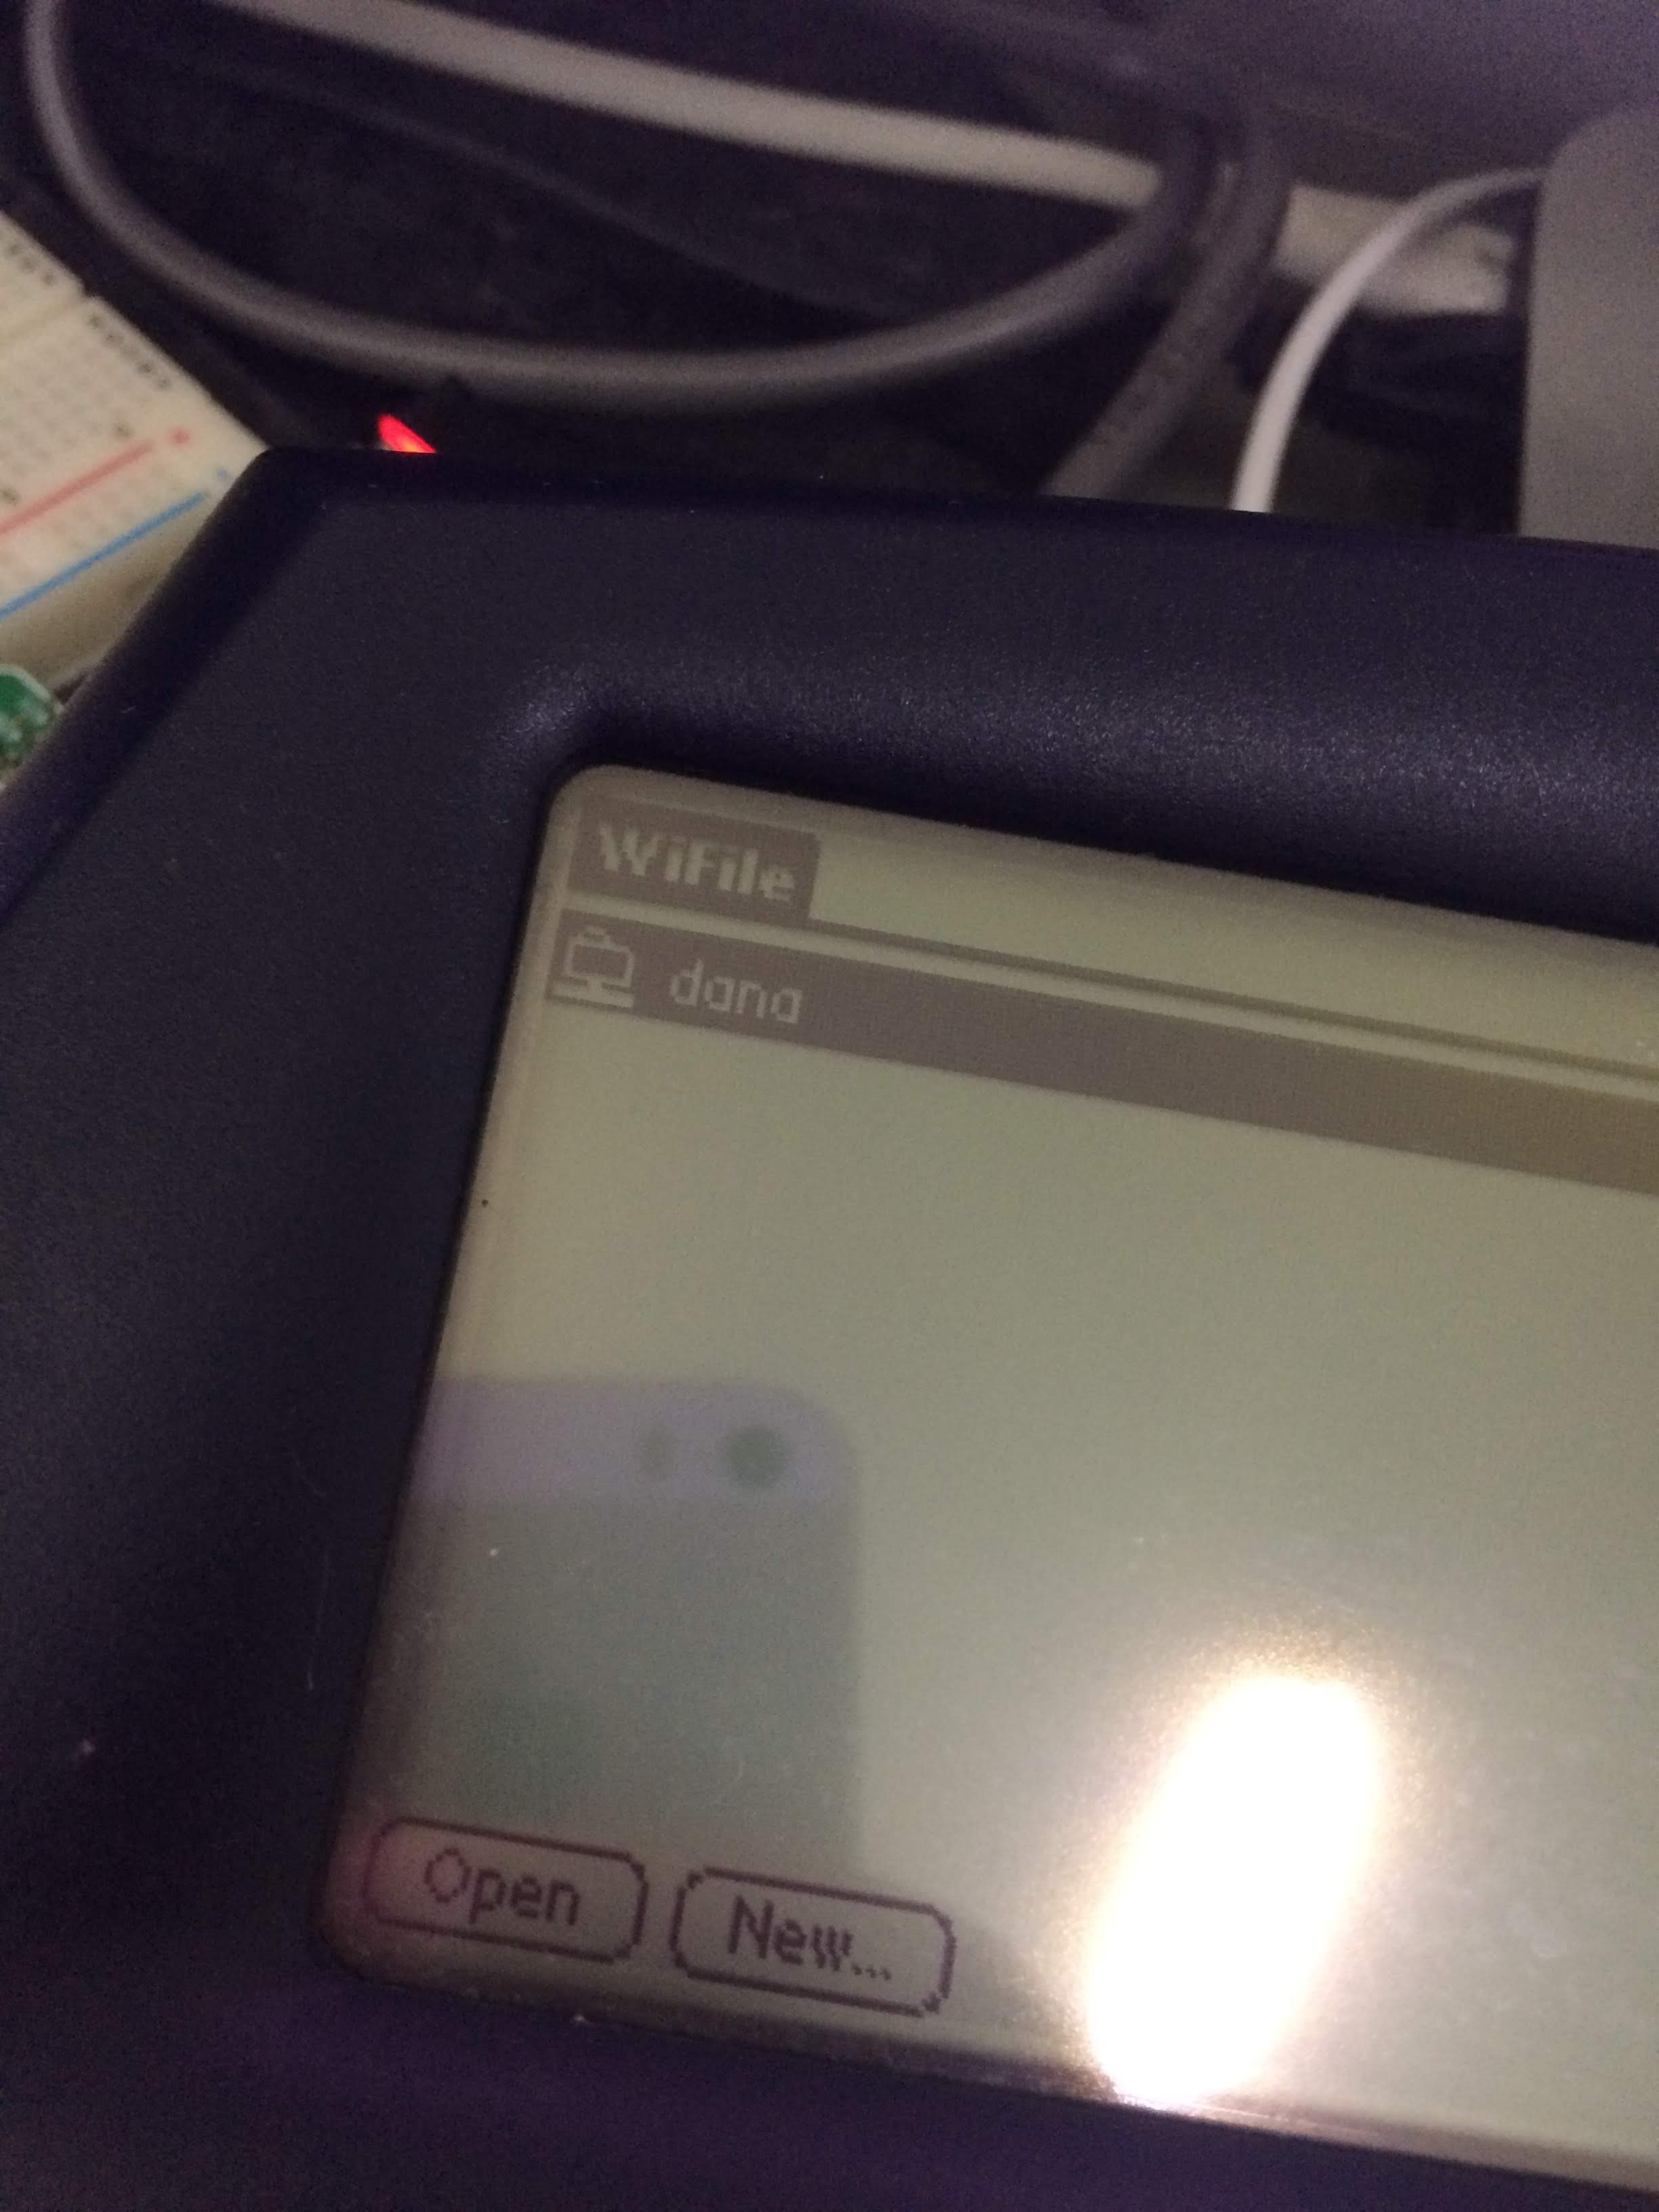
Now you should be able to save/load file from Alphaword to the share, or view the share using WiFile.
DropBox
I will not write a specific instruction for this, you can read this guide on Raspberry Pi website on how to upload your files to Dropbox. I use a cron script that will upload the content of *.txt files to Dropbox. Note that the 172.17.x.x subnet cannot access the internet, but the wired network 192.168.x.x can access the Internet.
So my current workflow is this: I write something on my Dana, and when I reach home, I save the file to the share. In a few minutes, the files are uploaded to Dropbox. Dropbox has a file history feature which is quite useful. Of course, you don’t have to use Dropbox, you can use also use git to have a remote backup with file history.
One step that I wish I could do is: send all my work with a single click. For now, I need to send one file at a time. I hope this guide will be useful to anyone still using Dana (wireless version).
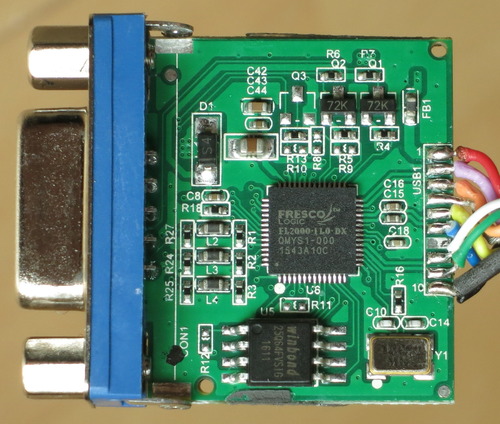
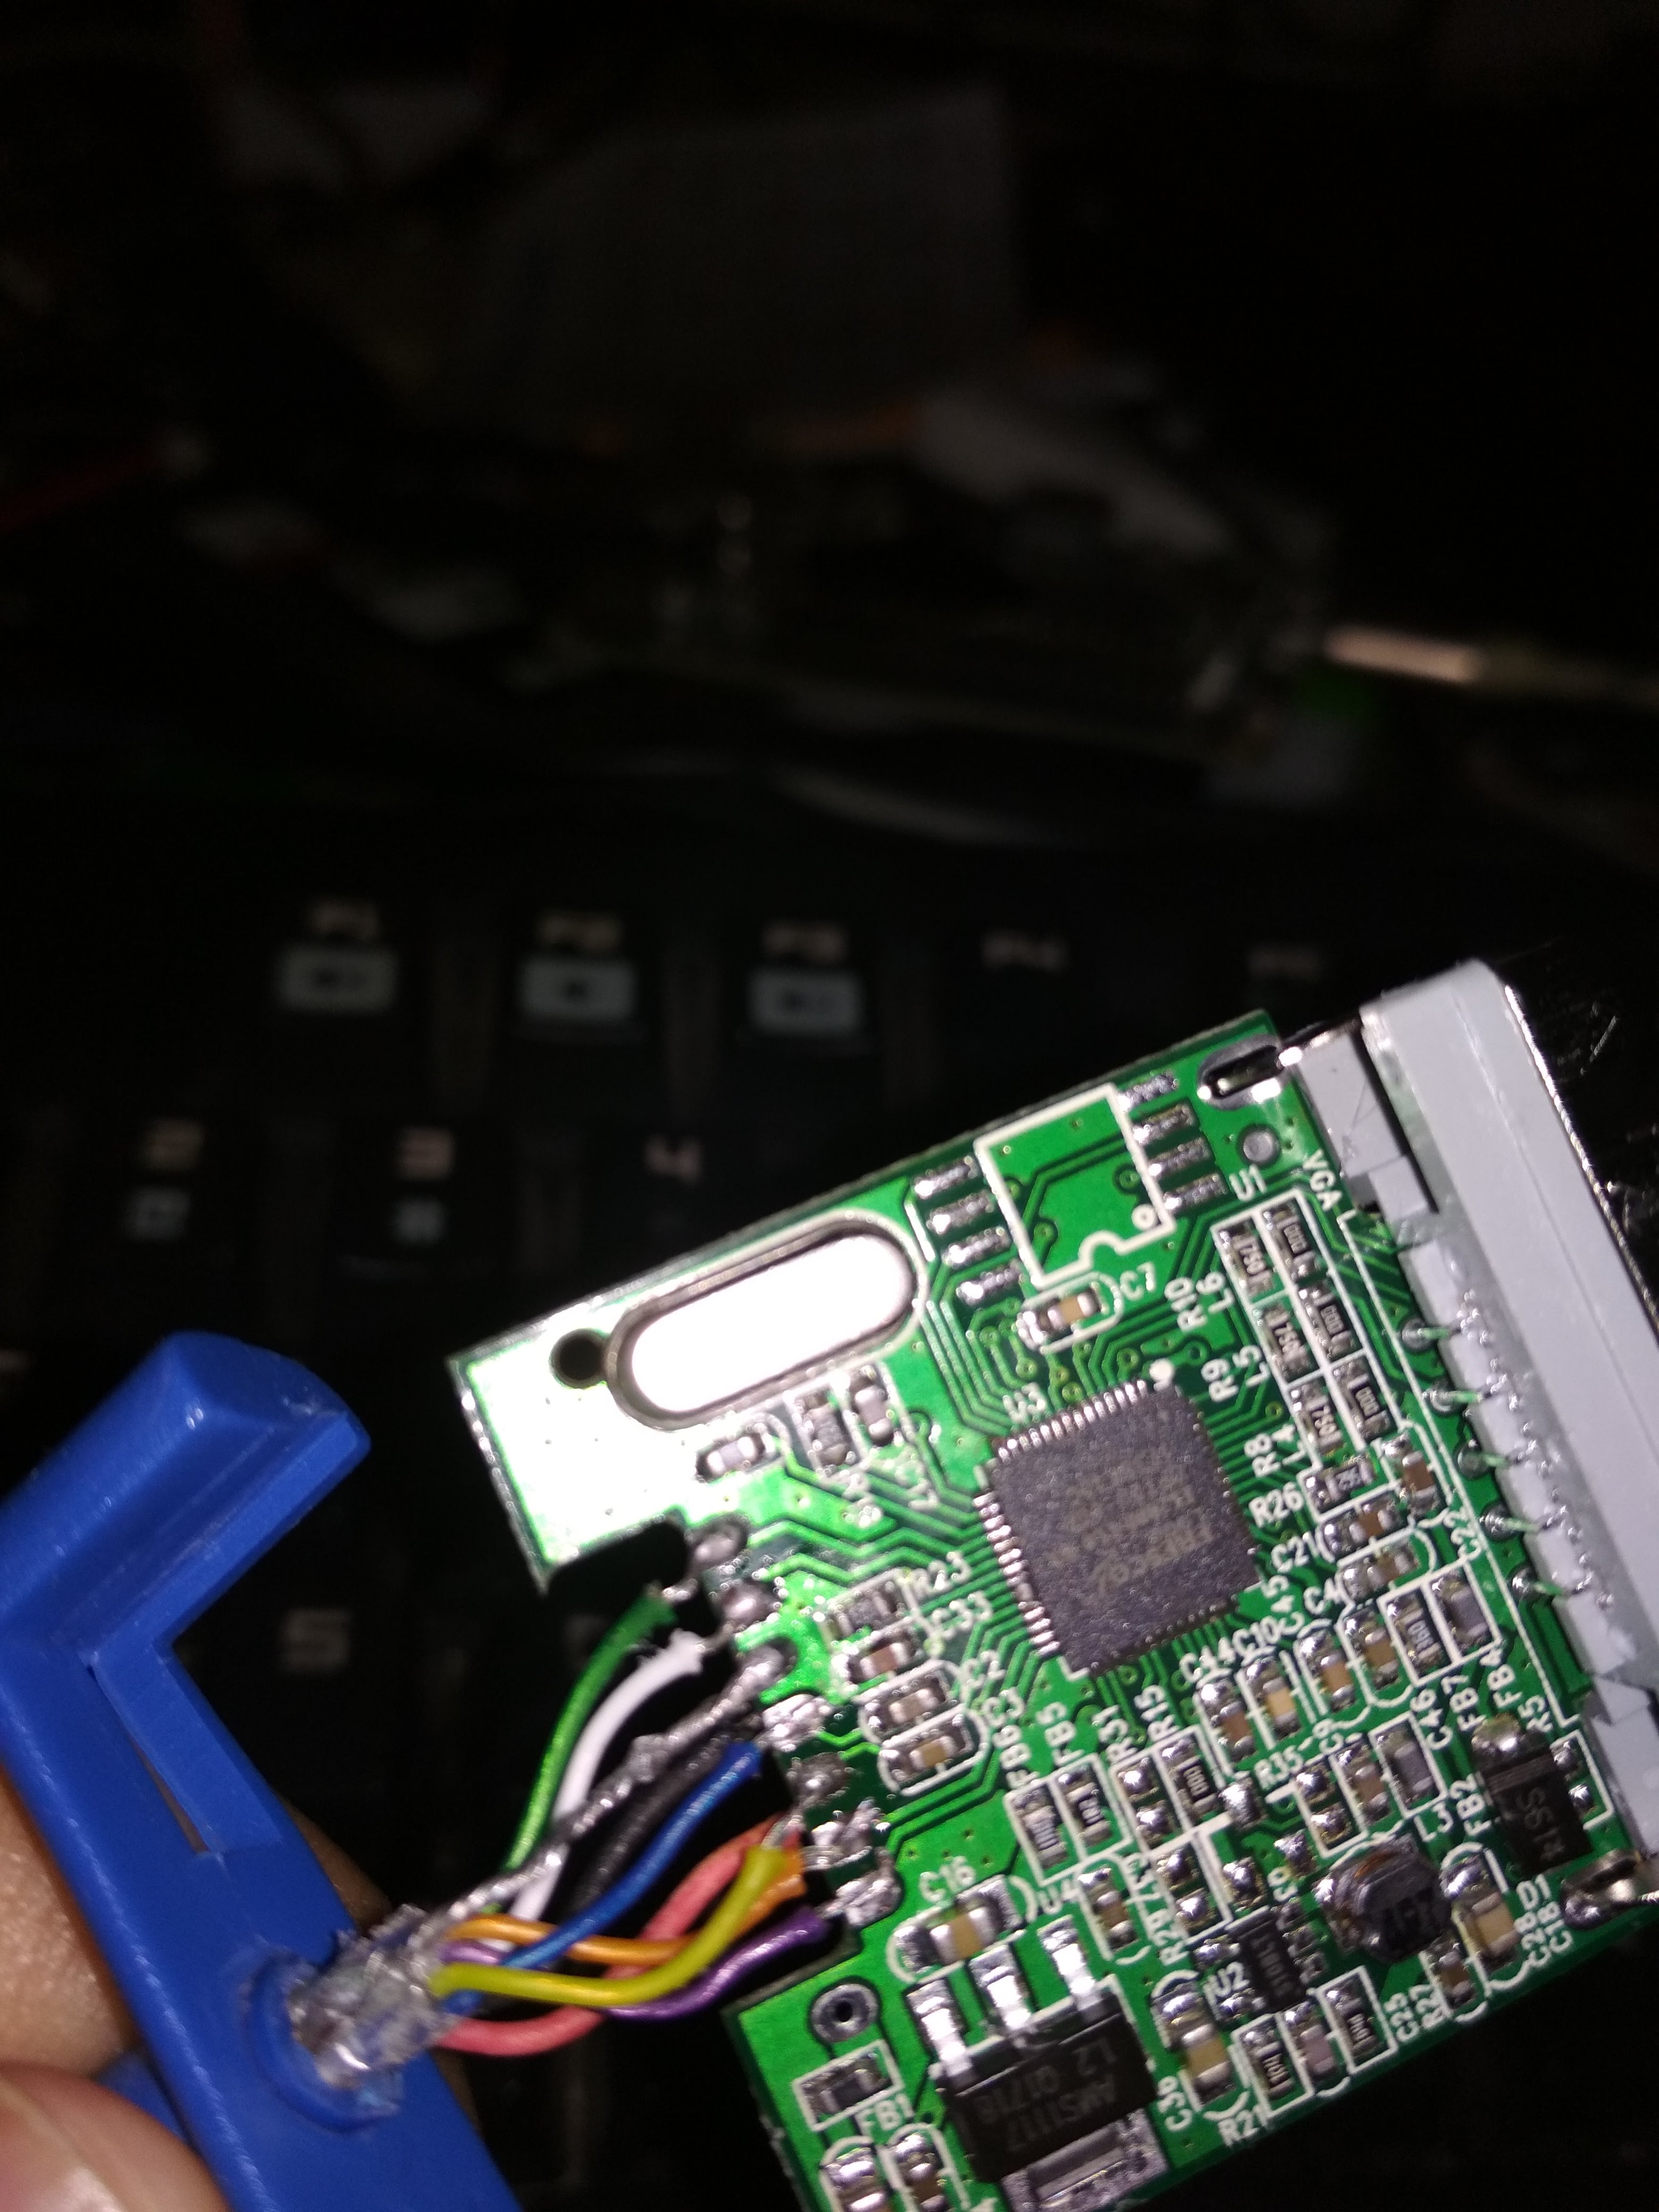
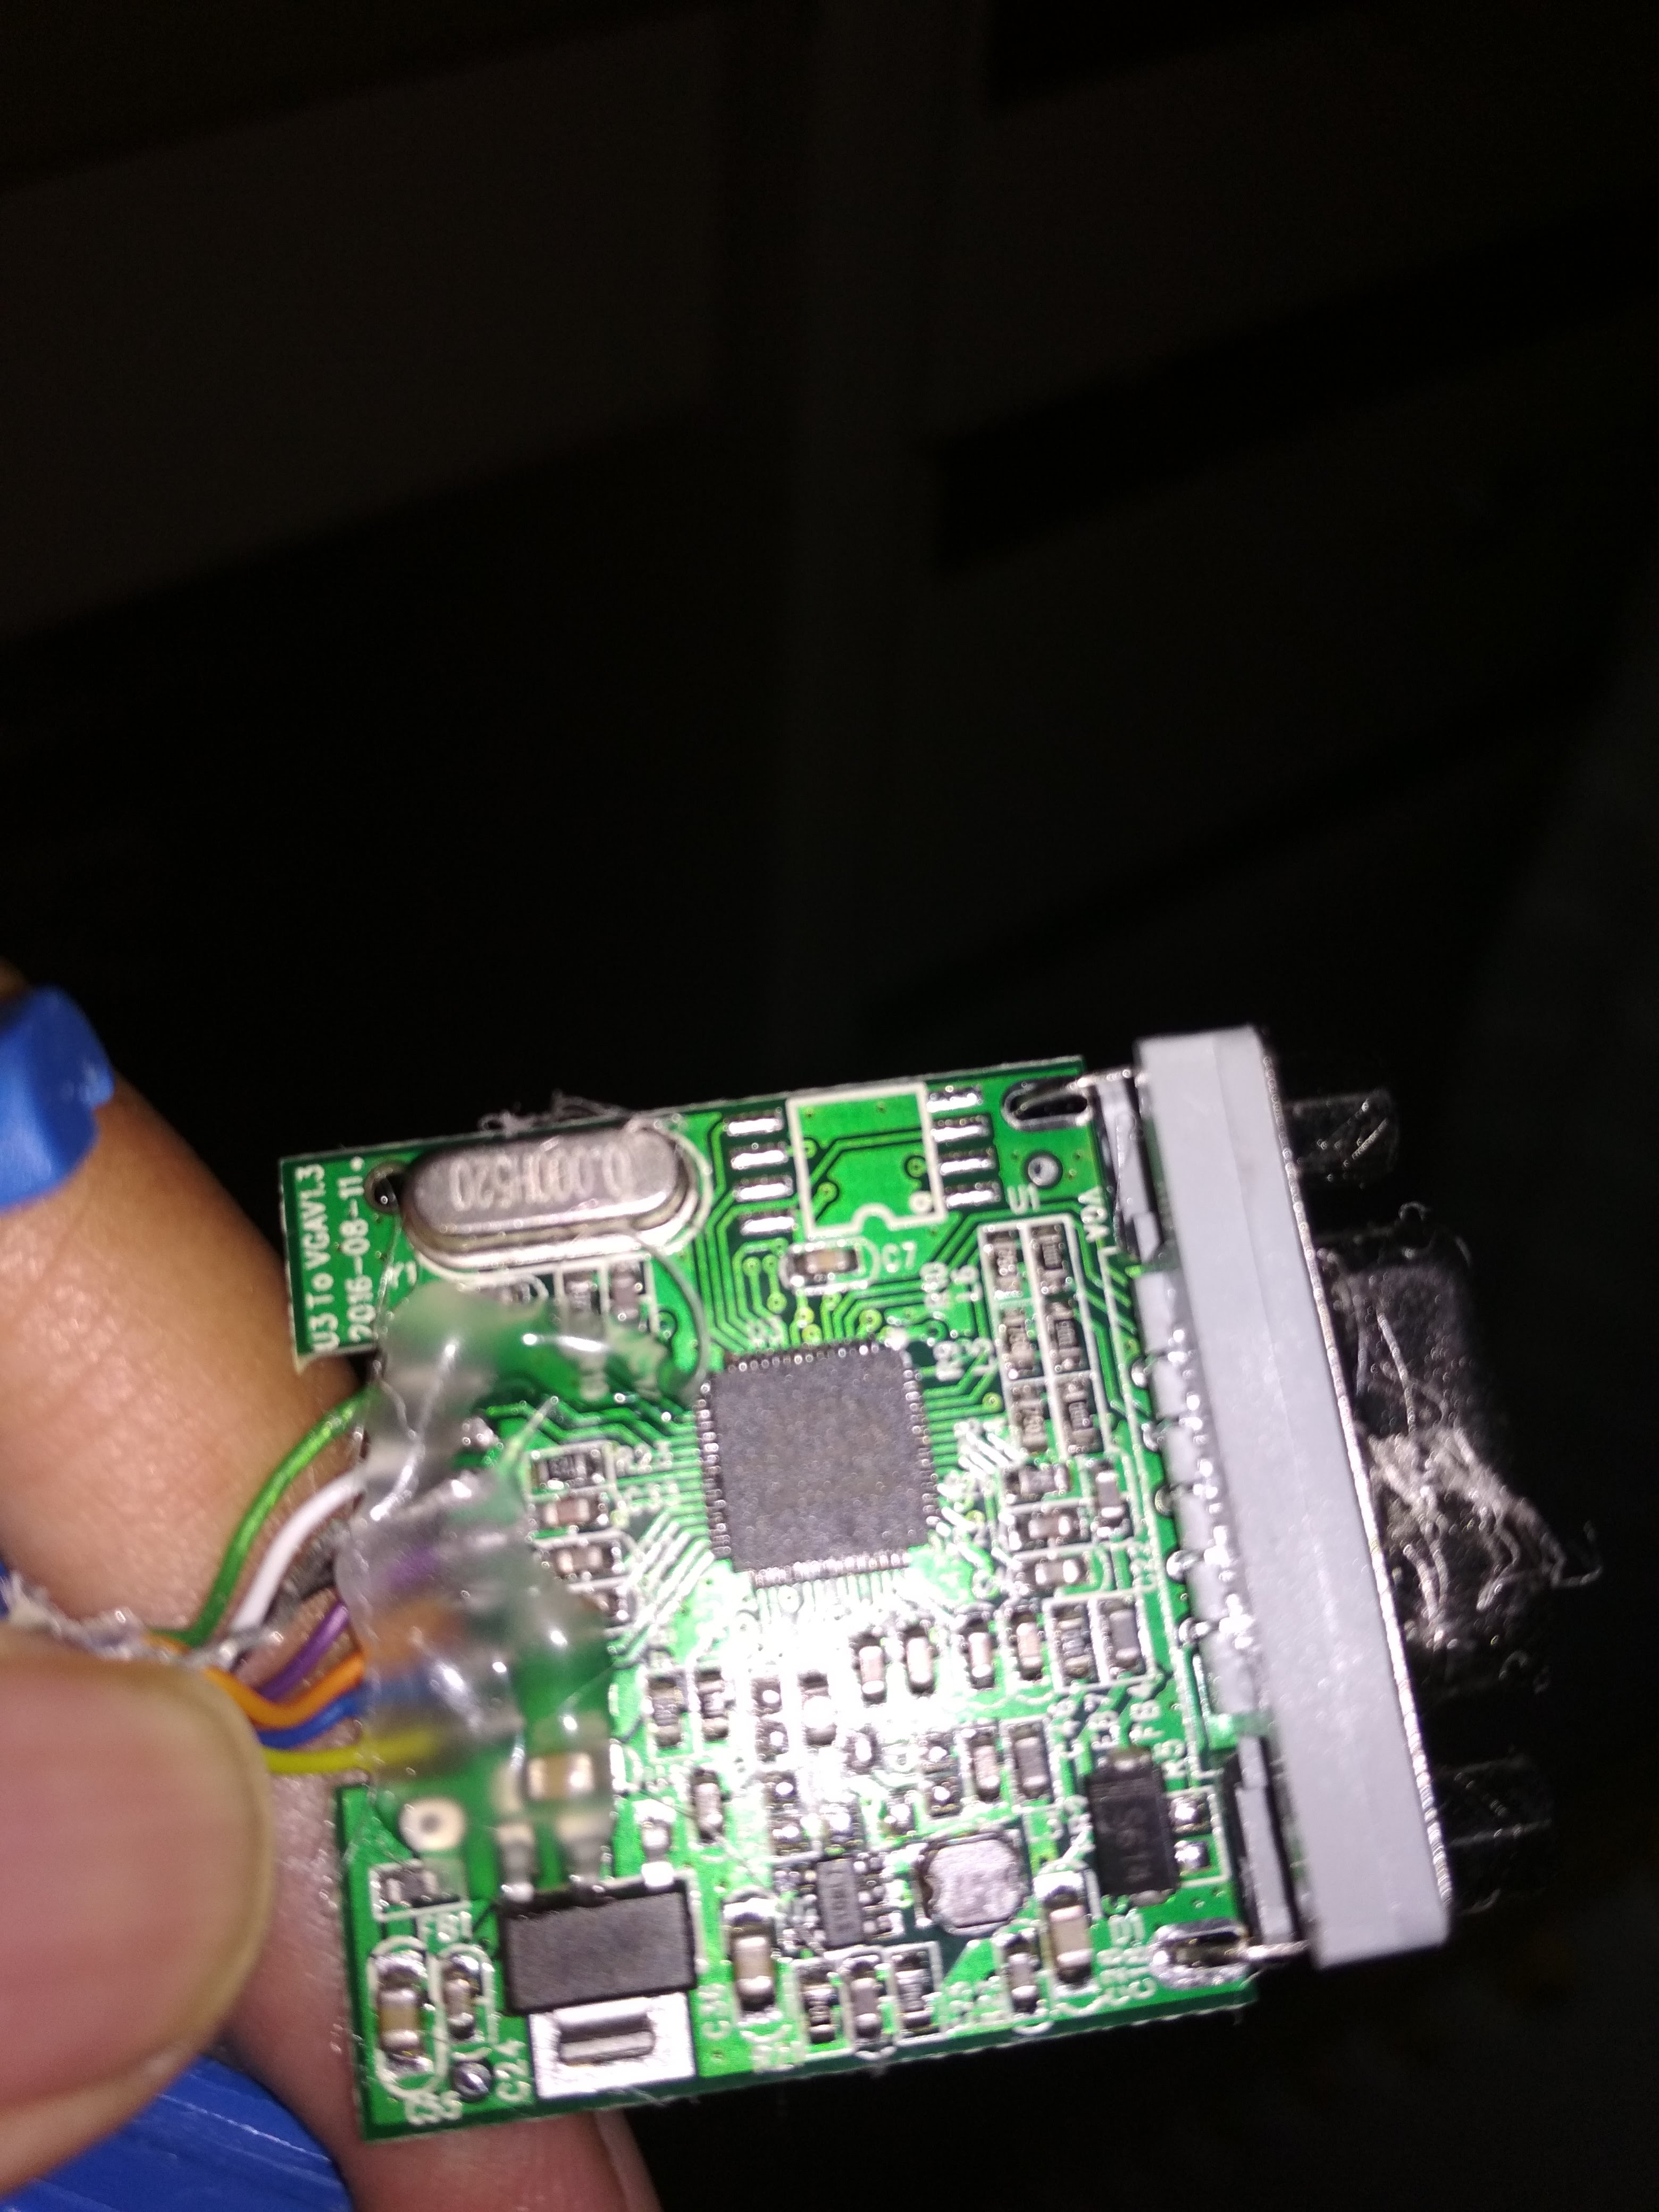 I began to notice that the cabling is a bit different from the one shown in osmo-fl2k website. On the website all 10 cables is on the front side of the PCB, and on mine there are only 8 of them on one side and two on the other side.